These Peanut Butter Bars are a delightful treat that combines the rich flavors of chocolate and creamy peanut butter. Perfect for any occasion, these no-bake bars are not just simple to make but also incredibly satisfying. Whether you’re hosting a party, looking for a sweet snack, or want to impress friends during the holidays, these bars fit the bill. Their unique taste and easy preparation make them a family favorite that everyone will love.

Jump to:
- Why You’ll Love This Recipe
- Tools and Preparation
- Essential Tools and Equipment
- Importance of Each Tool
- Ingredients
- For the Base
- For the Topping
- How to Make Peanut Butter Bars
- Step 1: Prepare Your Dish
- Step 2: Mix the Base
- Step 3: Add Flavorings
- Step 4: Incorporate Sugar
- Step 5: Form the Bars
- Step 6: Melt Chocolate
- Step 7: Assemble
- Step 8: Chill to Set
- Step 9: Serve
- How to Serve Peanut Butter Bars
- With Fresh Fruit
- As a Dessert Platter
- With Ice Cream
- Drizzled with Sauce
- How to Perfect Peanut Butter Bars
- Best Side Dishes for Peanut Butter Bars
- Common Mistakes to Avoid
- Storage & Reheating Instructions
- Refrigerator Storage
- Freezing Peanut Butter Bars
- Reheating Peanut Butter Bars
- Frequently Asked Questions
- Can I use natural peanut butter for Peanut Butter Bars?
- How do I know when my Peanut Butter Bars are set?
- Can I add other ingredients to my Peanut Butter Bars?
- What should I do if my Peanut Butter Bars are too sticky?
- How long do these Peanut Butter Bars last?
- Final Thoughts
- 📖 Recipe Card
Why You’ll Love This Recipe
- Quick to Prepare: With just 10 minutes of prep time, you can whip up these bars in no time.
- No Baking Required: Enjoy a delicious dessert without turning on the oven.
- Versatile Treat: Customize with your favorite toppings or festive sprinkles for any occasion.
- Rich Flavor Combination: The blend of chocolate and peanut butter creates an irresistible flavor profile.
- Great for Sharing: Cut into squares and share with friends, family, or as a perfect potluck dessert.
Tools and Preparation
Having the right tools can make preparing your Peanut Butter Bars even easier and more enjoyable. Here’s what you’ll need to get started.
Grab This Chef Knife Now - Almost Gone!
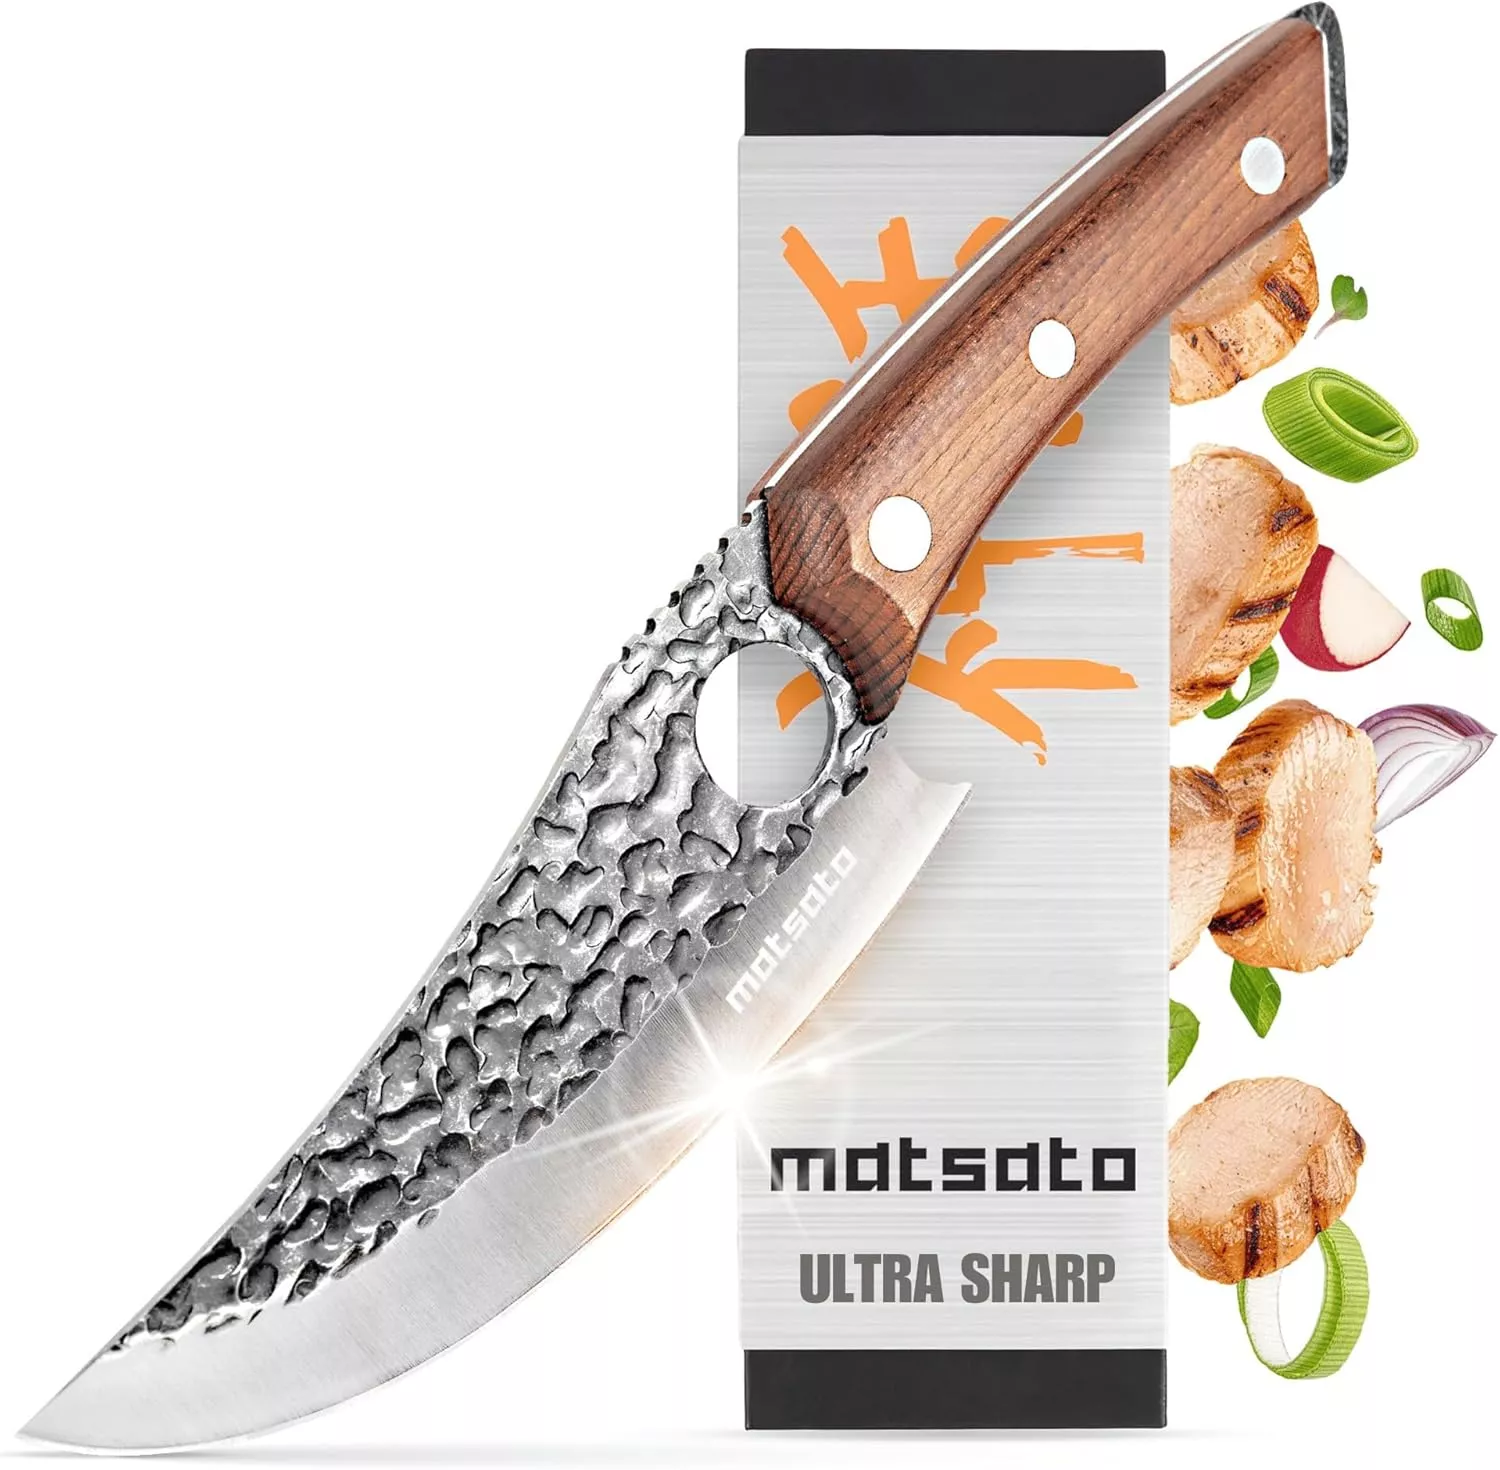
- Stays Razor-Sharp: Ice-hardened blade keeps its edge longer than ordinary knives
- Superior Grip Control: Unique finger hole design gives you perfect balance and safety
- Built to Last a Lifetime: Premium stainless steel blade with elegant beech wood handle
Customer Reviews ★★★★★
Essential Tools and Equipment
- Electric hand mixer or stand mixer
- 8×8” or 9×9 baking dish
- Parchment paper
- Microwave-safe bowl
Importance of Each Tool
- Electric hand mixer or stand mixer: This tool makes blending the ingredients fast and effortless, ensuring a smooth mixture.
- Baking dish: A properly sized dish helps shape your bars perfectly for cutting later.
- Parchment paper: Lining your dish with parchment paper ensures easy removal of the finished bars without sticking.
Ingredients
These Peanut Butter Bars require simple ingredients that come together beautifully.
For the Base
- 2 cups creamy peanut butter
- ½ cup unsalted butter (softened)
- 2 teaspoons vanilla extract
- ½ teaspoon salt
- 4-5 cups powdered sugar (start with 4 cups)
For the Topping
- 1 ½ cups chocolate chips
- 1 teaspoon coconut oil
- 2 tablespoons festive sprinkles (optional)
How to Make Peanut Butter Bars
Step 1: Prepare Your Dish
Line an 8×8” or 9×9 dish with parchment paper to prevent sticking.
Step 2: Mix the Base
In a large bowl, add the peanut butter and softened butter. Blend on medium speed until smooth using an electric hand mixer or stand mixer fitted with a paddle attachment.
Step 3: Add Flavorings
Add in the vanilla extract and salt, mixing until thoroughly combined.
Step 4: Incorporate Sugar
Gradually add the powdered sugar, mixing on low speed after each addition. Scrape down the sides of the bowl as needed. Start with 4 cups but add more if necessary until it reaches a crumbly texture.
Step 5: Form the Bars
Pour the dough into your prepared pan, pressing it down evenly. For a smoother top, place another piece of parchment over it and press down firmly.
Step 6: Melt Chocolate
In a microwave-safe bowl, combine chocolate chips and coconut oil. Heat in intervals of 30 seconds, stirring between each until melted and smooth.
Step 7: Assemble
Pour the melted chocolate over the peanut butter layer, spreading it out evenly. Add sprinkles while still wet for decoration.
Step 8: Chill to Set
Refrigerate the bars for about 20 minutes to set.
Step 9: Serve
Enjoy these delicious Peanut Butter Bars chilled or at room temperature!
How to Serve Peanut Butter Bars
Peanut Butter Bars are a delightful treat that can be enjoyed in various ways. Whether you’re hosting a party or simply enjoying them at home, these serving suggestions will elevate your experience.
With Fresh Fruit
- Sliced Bananas: Pair your bars with fresh banana slices for a delicious combination of flavors.
- Strawberries: The sweetness of strawberries complements the rich taste of peanut butter perfectly.
- Apple Slices: Crisp apple slices add a refreshing crunch to each bite.
As a Dessert Platter
- Assorted Cookies: Include different cookies on the platter to provide variety alongside your Peanut Butter Bars.
- Mini Cupcakes: Add mini cupcakes for an eye-catching dessert spread that’s perfect for parties.
With Ice Cream
- Vanilla Ice Cream: Serve the bars with a scoop of vanilla ice cream for a classic dessert pairing.
- Chocolate Ice Cream: For chocolate lovers, this combination adds extra richness and flavor.
Drizzled with Sauce
- Chocolate Sauce: A drizzle of warm chocolate sauce enhances the bar’s taste and makes it even more indulgent.
- Caramel Sauce: Try adding caramel sauce for a sweet and creamy finish.

How to Perfect Peanut Butter Bars
To ensure your Peanut Butter Bars turn out perfectly every time, follow these helpful tips.
- Use Room Temperature Ingredients: Make sure your butter and peanut butter are at room temperature for easier mixing.
- Measure Ingredients Accurately: Proper measurements of powdered sugar can prevent too wet or dry dough.
- Chill Before Cutting: Allowing the bars to set in the refrigerator ensures clean cuts and maintains their shape.
- Experiment with Toppings: Feel free to try different toppings like nuts or coconut flakes for added texture.
- Customize the Sweetness: Adjust the amount of powdered sugar based on your preference for sweetness.
- Store Properly: Keep leftover bars in an airtight container in the fridge to maintain freshness.
Best Side Dishes for Peanut Butter Bars
Serving Peanut Butter Bars alongside complementary dishes can create a delightful dessert experience. Here are some great options:
- Fruit Salad: A mix of seasonal fruits offers brightness and freshness, balancing the richness of the bars.
- Yogurt Parfait: Layer yogurt, granola, and berries for a healthy side that pairs well with sweet treats.
- Cheese Platter: A selection of cheeses provides savory contrast and enhances flavor profiles during dessert time.
- Chocolate Fondue: Dip fruits or pretzels in chocolate fondue for an interactive and delicious side dish.
- Coffee or Tea: A warm beverage can complement the flavors of peanut butter while providing a cozy touch.
- Milkshakes: Creamy milkshakes add a fun twist and pair wonderfully with dessert bars, especially on hot days.
- Granola Bites: These crunchy snacks can bring additional texture and health benefits to your dessert table.
- Rice Crispy Treats: These sweet treats add nostalgia and fun, making them ideal companions to Peanut Butter Bars.
Common Mistakes to Avoid
Making Peanut Butter Bars can be simple, but small mistakes can lead to less-than-perfect results. Here are some common pitfalls to avoid.
- Using the wrong type of peanut butter – Always use creamy peanut butter for a smooth texture. Chunky peanut butter can alter the consistency and make it hard to mix.
- Skipping the salt – Salt enhances flavor and balances sweetness. Don’t skip it; a half teaspoon is all you need for delicious bars.
- Not measuring powdered sugar correctly – Start with 4 cups and gradually add more if needed. Too much sugar can make the mixture overly dense and sweet.
- Overheating the chocolate – Heat chocolate in short intervals to prevent burning. Stir after each interval until fully melted for a glossy finish.
- Neglecting to chill properly – Chilling the bars is crucial for setting. Make sure they cool thoroughly in the fridge before slicing for clean edges.

Storage & Reheating Instructions
Refrigerator Storage
- Store in an airtight container for up to one week.
- Layer parchment paper between bars to prevent sticking.
Freezing Peanut Butter Bars
- Wrap individual bars tightly in plastic wrap, then place them in a freezer-safe bag.
- They can be frozen for up to three months.
Reheating Peanut Butter Bars
- Oven – Preheat to 350°F (175°C), place bars on a baking sheet, and heat for about 5-10 minutes until warm.
- Microwave – Place one bar on a microwave-safe plate and heat for about 15-20 seconds.
- Stovetop – Use a skillet over low heat; warm each bar briefly on both sides.
Frequently Asked Questions
Here are some frequently asked questions about making Peanut Butter Bars.
Can I use natural peanut butter for Peanut Butter Bars?
Yes, you can use natural peanut butter, but make sure it’s well-stirred so that it has a similar consistency to creamy peanut butter.
How do I know when my Peanut Butter Bars are set?
The bars should feel firm to the touch after chilling in the refrigerator for at least 20 minutes.
Can I add other ingredients to my Peanut Butter Bars?
Absolutely! You can customize your bars by adding nuts, dried fruit, or using different types of chocolate.
What should I do if my Peanut Butter Bars are too sticky?
If your mixture is too sticky, gradually add more powdered sugar until it reaches a workable consistency.
How long do these Peanut Butter Bars last?
When stored properly, Peanut Butter Bars last up to one week in the refrigerator or three months in the freezer.
Final Thoughts
These Peanut Butter Bars are not only easy to make but also incredibly satisfying. With their rich flavors and creamy texture, they are perfect for any occasion. Feel free to customize with your favorite mix-ins or toppings. Enjoy this delightful treat that everyone will love!
Did You Enjoy Making This Recipe? Please rate this recipe with ⭐⭐⭐⭐⭐ or leave a comment.
📖 Recipe Card
Print
Peanut Butter Bars
- Total Time: 0 hours
- Yield: Approximately 16 bars 1x
Description
Indulge in the delightful world of Peanut Butter Bars, a no-bake treat that masterfully combines the rich flavors of creamy peanut butter and decadent chocolate. Perfect for any occasion, these bars are incredibly simple to prepare, making them an ideal choice for parties, holiday gatherings, or as a sweet snack to enjoy at home. With just 10 minutes of prep time, you can create a satisfying dessert that will impress family and friends alike. Customize them with your favorite toppings for an extra touch of fun and flavor!
Ingredients
- 2 cups creamy peanut butter
- ½ cup unsalted butter (softened)
- 2 teaspoons vanilla extract
- ½ teaspoon salt
- 4–5 cups powdered sugar
- 1 ½ cups chocolate chips
- 1 teaspoon coconut oil
Instructions
- Line an 8×8” or 9×9" baking dish with parchment paper.
- In a large bowl, blend the peanut butter and softened butter using an electric mixer until smooth.
- Mix in vanilla extract and salt until combined.
- Gradually incorporate powdered sugar until reaching a crumbly texture; adjust as needed.
- Press the mixture evenly into the prepared dish.
- Melt chocolate chips and coconut oil in a microwave-safe bowl at intervals until smooth.
- Spread melted chocolate over the peanut butter layer and add sprinkles if desired.
- Refrigerate for about 20 minutes to set before slicing.
- Prep Time: 10 minutes
- Cook Time: None
- Category: Dessert
- Method: No-bake
- Cuisine: American
Nutrition
- Serving Size: 1 bar (45g)
- Calories: 200
- Sugar: 14g
- Sodium: 70mg
- Fat: 12g
- Saturated Fat: 4g
- Unsaturated Fat: 7g
- Trans Fat: 0g
- Carbohydrates: 21g
- Fiber: 1g
- Protein: 4g
- Cholesterol: 10mg