Classic Deviled Eggs are a delightful addition to any gathering, offering a creamy and tangy filling that tantalizes the taste buds. Perfect for picnics, potlucks, or holiday celebrations, these eggs are not only easy to make but can also be prepared ahead of time. With their versatility, you can stick to traditional garnishes or experiment with unique toppings. Get ready to impress your guests with this classic recipe!

Jump to:
- Why You’ll Love This Recipe
- Tools and Preparation
- Essential Tools and Equipment
- Importance of Each Tool
- Ingredients
- For the Deviled Eggs
- How to Make Classic Deviled Eggs
- Step 1: Prepare the Eggs
- Step 2: Make the Filling
- Step 3: Fill the Egg Whites
- Step 4: Garnish and Serve
- How to Serve Classic Deviled Eggs
- Individual Serving Cups
- Deviled Egg Platter
- Appetizer Skewers
- Mini Toasts
- Deviled Egg Bar
- How to Perfect Classic Deviled Eggs
- Best Side Dishes for Classic Deviled Eggs
- Common Mistakes to Avoid
- Storage & Reheating Instructions
- Refrigerator Storage
- Freezing Classic Deviled Eggs
- Reheating Classic Deviled Eggs
- Frequently Asked Questions
- How long can Classic Deviled Eggs sit out?
- Can I customize my Classic Deviled Eggs?
- What is the best way to peel hard-boiled eggs?
- How can I make my Classic Deviled Eggs spicier?
- Final Thoughts
- 📖 Recipe Card
Why You’ll Love This Recipe
- Easy to Prepare: With just a few simple steps, you can whip up a batch of Classic Deviled Eggs in no time.
- Versatile Flavor: The creamy filling can be customized with various ingredients, allowing you to cater to different tastes.
- Perfect for Any Occasion: Whether it’s a casual gathering or a festive celebration, these eggs fit right in.
- Make Ahead Option: Prepare them in advance and chill for enhanced flavor, making them ideal for busy hosts.
- Crowd-Pleaser: Their rich taste and appealing presentation make them a hit with guests of all ages.
Tools and Preparation
To create the perfect Classic Deviled Eggs, you’ll need some essential tools that streamline the process and enhance your cooking experience.
Grab This Chef Knife Now - Almost Gone!
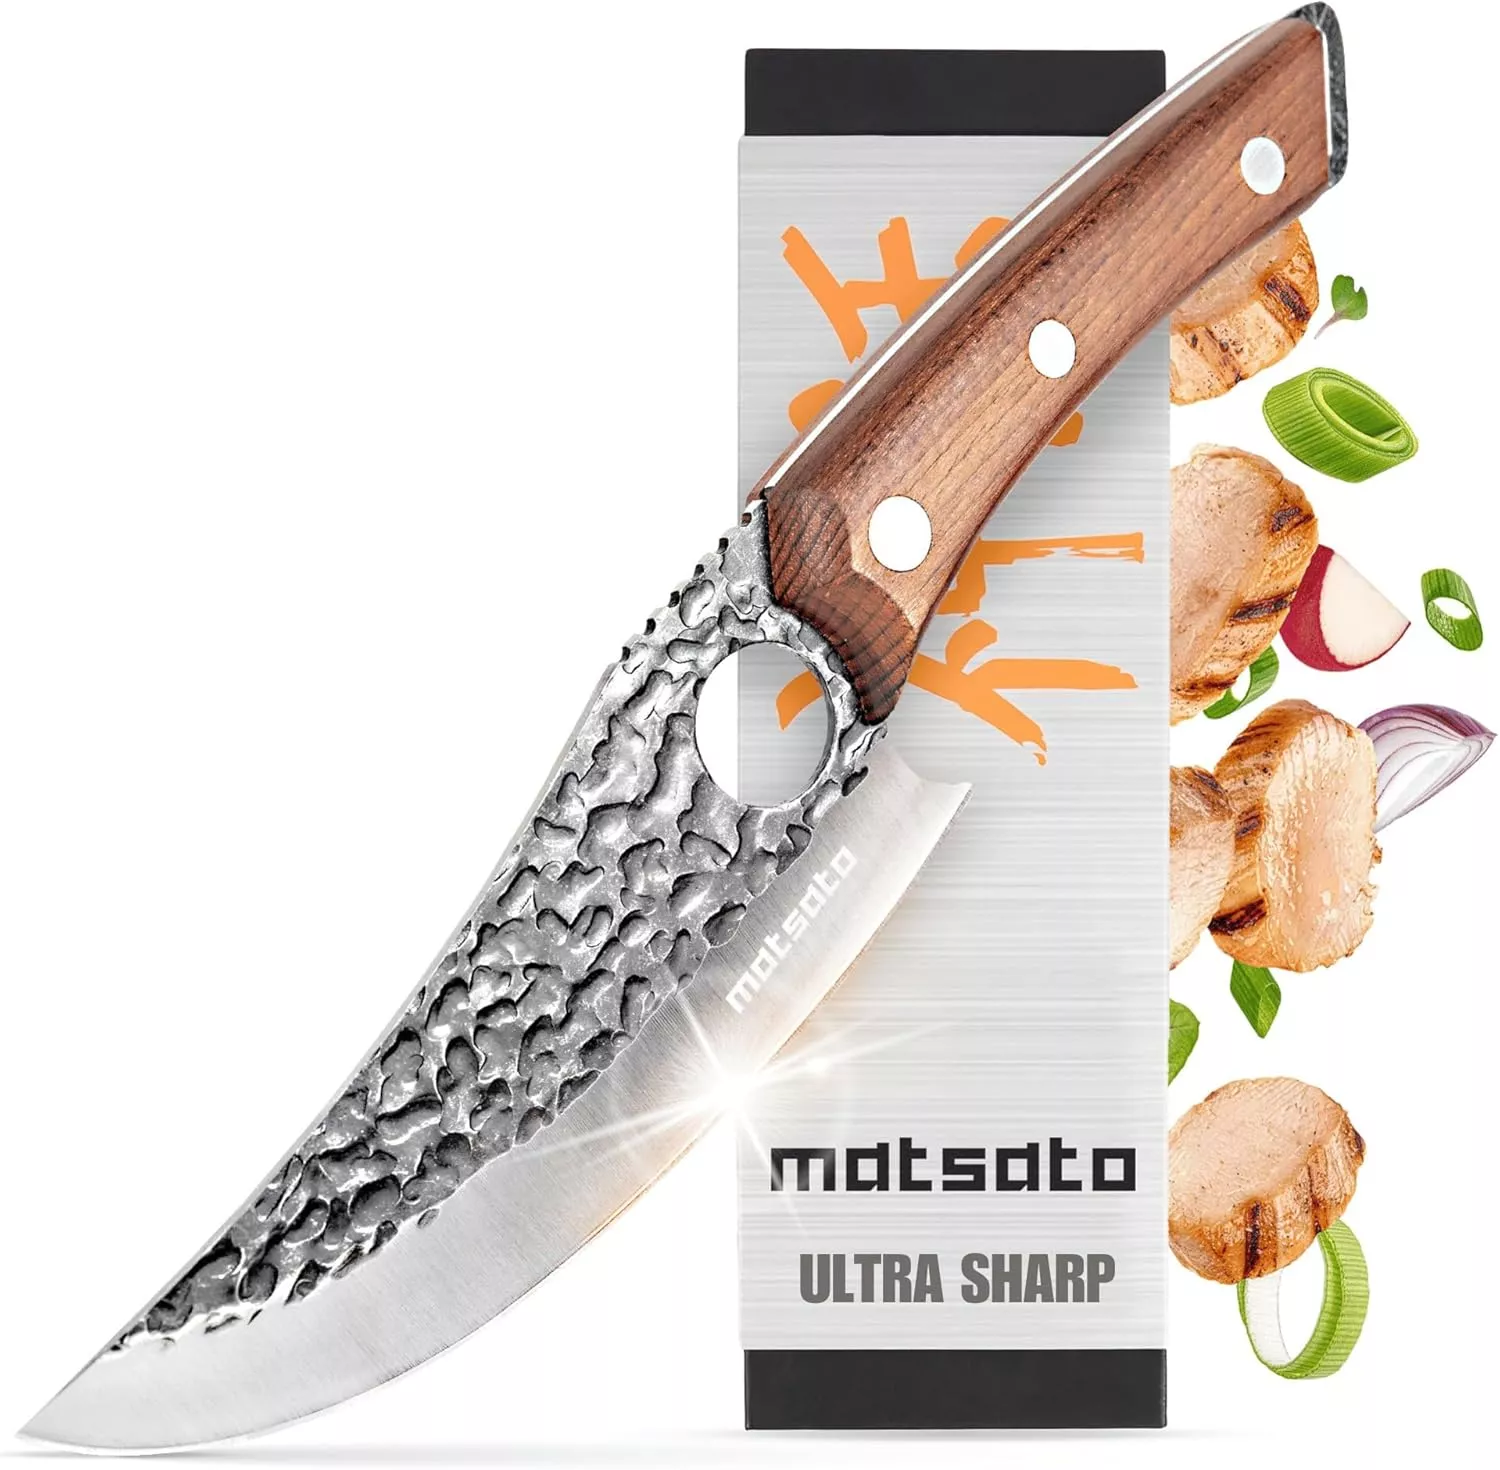
- Stays Razor-Sharp: Ice-hardened blade keeps its edge longer than ordinary knives
- Superior Grip Control: Unique finger hole design gives you perfect balance and safety
- Built to Last a Lifetime: Premium stainless steel blade with elegant beech wood handle
Customer Reviews ★★★★★
Essential Tools and Equipment
- Mixing bowl
- Fork or potato masher
- Knife
- Spoon or piping bag for filling
- Serving platter
Importance of Each Tool
- Mixing bowl: A sturdy mixing bowl provides ample space for combining ingredients without spilling.
- Fork or potato masher: This tool helps achieve a smooth filling by effectively mashing the yolks with the other ingredients.
Ingredients
For the Deviled Eggs
- 10–12 hard-boiled eggs
- ¼ cup + 2 tablespoons mayonnaise
- ½ teaspoon Dijon mustard
- 3–4 teaspoons pickle juice
- Salt and black pepper to taste
- Paprika and fresh herbs for garnish
How to Make Classic Deviled Eggs
Step 1: Prepare the Eggs
- Peel hard-boiled eggs carefully and slice them in half lengthwise.
- Place the yolks into a mixing bowl while setting the egg whites aside on a serving platter.
Step 2: Make the Filling
- Combine the yolks with ¼ cup + 2 tablespoons mayonnaise, ½ teaspoon Dijon mustard, 3–4 teaspoons pickle juice, salt, and pepper in the mixing bowl.
- Mash together until smooth and well combined.
Step 3: Fill the Egg Whites
- Taste the filling mixture and adjust seasoning as needed.
- Spoon or pipe the creamy filling back into each egg white half.
Step 4: Garnish and Serve
- Sprinkle paprika over each filled egg for added flavor and visual appeal.
- Add fresh herbs on top as desired before serving.
Enjoy your Classic Deviled Eggs at your next gathering!
How to Serve Classic Deviled Eggs
Classic Deviled Eggs are versatile and can be served in various ways to enhance your gatherings. Whether you’re hosting a casual get-together or a formal dinner, these serving suggestions will elevate your presentation and flavor profiles.
Individual Serving Cups
- Use small cups or glasses to serve each deviled egg half. This adds a touch of elegance and makes it easy for guests to grab their own.
Deviled Egg Platter
- Arrange the eggs on a beautiful platter. Garnish with fresh herbs or lettuce leaves for an attractive presentation that invites guests to indulge.
Appetizer Skewers
- Thread deviled egg halves onto skewers with cherry tomatoes or cucumber slices. This creates an eye-catching appetizer that’s easy to eat.
Mini Toasts
- Serve the filling on small toasted bread rounds instead of using egg whites. This variation offers a delightful crunch and is perfect for those who enjoy a different texture.
Deviled Egg Bar
- Set up a DIY deviled egg bar with various toppings like bacon bits, chives, or sriracha. Guests can customize their eggs to suit their tastes, making it interactive and fun.

How to Perfect Classic Deviled Eggs
To ensure your Classic Deviled Eggs turn out perfectly every time, consider these helpful tips.
- Use older eggs: Older eggs are easier to peel, making your preparation smoother and more efficient.
- Chill before serving: Allow filled eggs to chill for at least 30 minutes before serving. This enhances the flavors and ensures they are refreshingly cool.
- Adjust seasoning: Taste the filling before piping it into the egg whites. Adjust salt, pepper, or pickle juice as needed for the best flavor.
- Experiment with fillings: Feel free to customize the filling by adding ingredients like avocado for creaminess or hot sauce for a spicy kick.
- Garnish creatively: Beyond paprika, try using crumbled bacon or fresh herbs like dill or parsley for added flavor and visual appeal.
Best Side Dishes for Classic Deviled Eggs
Classic Deviled Eggs pair wonderfully with a variety of side dishes that complement their rich flavors. Here’s a list of great options to serve alongside them.
- Vegetable Platter: Fresh veggies like carrots, celery, and bell peppers offer a crunchy contrast and healthy option.
- Stuffed Mushrooms: These savory bites filled with cheese and herbs provide a deliciously satisfying addition.
- Cheese Board: A selection of cheeses paired with crackers makes for an excellent variety that pairs well with deviled eggs.
- Potato Salad: Creamy potato salad is a classic crowd-pleaser that balances well with the richness of deviled eggs.
- Fruit Salad: A refreshing mix of seasonal fruits adds brightness and sweetness to your spread.
- Coleslaw: The tangy crunch of coleslaw complements deviled eggs beautifully while adding texture to your meal.
- Pasta Salad: A light pasta salad can provide substance without overwhelming the palate.
- Chips and Dip: Offer an assortment of chips paired with dips like guacamole or salsa for extra snacking options.
Common Mistakes to Avoid
Classic Deviled Eggs are a staple at many gatherings, but some common mistakes can affect the final result. Here are a few pitfalls to watch out for.
- Using fresh eggs: Fresh eggs can be difficult to peel after boiling. Use older eggs for easier peeling and smoother results.
- Skipping seasoning: Failing to season the filling properly can lead to bland deviled eggs. Always taste and adjust the seasoning with salt and pepper before serving.
- Overmixing the filling: Overmixing can make the filling too runny or lose its texture. Mix just until smooth for the best consistency.
- Neglecting garnishes: Skipping garnishes can make your deviled eggs look unappealing. A sprinkle of paprika or fresh herbs adds color and flavor.
- Not chilling before serving: Serving deviled eggs warm can diminish their flavor. Chill them in the refrigerator for at least 30 minutes before serving for enhanced taste.

Storage & Reheating Instructions
Refrigerator Storage
- Store leftover Classic Deviled Eggs in an airtight container.
- They will last for up to 2-3 days in the refrigerator.
Freezing Classic Deviled Eggs
- Freezing is not recommended as it affects the texture of both egg whites and filling.
- If you must freeze, consider freezing just the egg whites separately.
Reheating Classic Deviled Eggs
- Oven: Preheat to 350°F (175°C). Place in a baking dish covered with foil until warmed through.
- Microwave: Heat on low power in short intervals, checking frequently; avoid overheating.
- Stovetop: Place in a pan with a little water, cover, and heat on low until warmed.
Frequently Asked Questions
Here are some common questions about Classic Deviled Eggs that may help you perfect your recipe.
How long can Classic Deviled Eggs sit out?
Classic Deviled Eggs should not sit out at room temperature for more than 2 hours to prevent spoilage.
Can I customize my Classic Deviled Eggs?
Absolutely! You can add ingredients like avocado, hot sauce, or even bacon bits to customize your filling.
What is the best way to peel hard-boiled eggs?
To peel hard-boiled eggs easily, use slightly older eggs and cool them quickly in ice water after boiling.
How can I make my Classic Deviled Eggs spicier?
Add a dash of hot sauce or mix in some diced jalapeños to give your deviled eggs an extra kick!
Final Thoughts
Classic Deviled Eggs are not only simple to prepare but also incredibly versatile. You can customize them with various toppings and flavors to suit any occasion. Whether you’re hosting a party or enjoying a quiet evening at home, these delightful appetizers are sure to impress. Give this easy recipe a try!
Did You Enjoy Making This Recipe? Please rate this recipe with ⭐⭐⭐⭐⭐ or leave a comment.
📖 Recipe Card
Print
Classic Deviled Eggs
- Total Time: 25 minutes
- Yield: Approximately 20 servings 1x
Description
Classic Deviled Eggs are the quintessential appetizer that brings a delightful blend of creamy and tangy flavors to any gathering. These beloved bites are not only simple to make but also offer endless customization options, making them perfect for picnics, potlucks, or holiday celebrations.
Ingredients
- 10–12 hard-boiled eggs
- ¼ cup + 2 tablespoons mayonnaise
- ½ teaspoon Dijon mustard
- 3–4 teaspoons pickle juice
- Salt and black pepper to taste
- Paprika and fresh herbs for garnish
Instructions
- Peel the hard-boiled eggs and slice them in half lengthwise.
- Remove yolks and place in a mixing bowl; set egg whites aside.
- Mash the yolks with mayonnaise, Dijon mustard, pickle juice, salt, and pepper until smooth.
- Spoon or pipe the mixture back into the egg whites.
- Garnish with paprika and fresh herbs before serving.
- Prep Time: 15 minutes
- Cook Time: 10 minutes
- Category: Appetizer
- Method: No cooking needed
- Cuisine: American
Nutrition
- Serving Size: 1 egg half (30g)
- Calories: 60
- Sugar: 0g
- Sodium: 60mg
- Fat: 5g
- Saturated Fat: 1g
- Unsaturated Fat: 4g
- Trans Fat: 0g
- Carbohydrates: 1g
- Fiber: 0g
- Protein: 3g
- Cholesterol: 80mg