Berry-Coconut Rocket Pops are a delightful and healthy treat perfect for hot summer days. These vibrant popsicles combine the sweetness of fresh strawberries and blueberries with the creamy goodness of coconut milk, making them a fun, refreshing option for parties, picnics, or just to cool off. They’re vegan, gluten-free, and easy to make, ensuring everyone can enjoy this colorful dessert.

Jump to:
- Why You’ll Love This Recipe
- Tools and Preparation
- Essential Tools and Equipment
- Importance of Each Tool
- Ingredients
- For the Strawberry Layer
- For the Coconut Layer
- For the Blueberry Layer
- How to Make Berry-Coconut Rocket Pops
- Step 1: Prepare Strawberry Puree
- Step 2: Prepare Blueberry Puree
- Step 3: Mix Coconut Milk
- Step 4: Assemble Strawberry Layer
- Step 5: Add Coconut Layer
- Step 6: Insert Sticks
- Step 7: Freeze Overnight
- Step 8: Serve
- How to Serve Berry-Coconut Rocket Pops
- At a Summer Picnic
- As a Kids’ Snack
- As a Dessert for Parties
- Enjoying at Home
- How to Perfect Berry-Coconut Rocket Pops
- Best Side Dishes for Berry-Coconut Rocket Pops
- Common Mistakes to Avoid
- Storage & Reheating Instructions
- Refrigerator Storage
- Freezing Berry-Coconut Rocket Pops
- Reheating Berry-Coconut Rocket Pops
- Frequently Asked Questions
- Can I use other fruits for Berry-Coconut Rocket Pops?
- How do I make Berry-Coconut Rocket Pops without added sugar?
- What is the best way to remove pops from molds?
- How long do Berry-Coconut Rocket Pops last in the freezer?
- Final Thoughts
- 📖 Recipe Card
Why You’ll Love This Recipe
- Healthy Ingredients: Packed with real fruit and coconut milk, these pops are a nutritious alternative to store-bought treats.
- Easy to Make: With simple steps and minimal prep time, you can whip these up in no time.
- Versatile Flavor Combinations: Feel free to mix different fruits or adjust sweetness levels according to your taste.
- Great for All Occasions: Whether it’s a birthday party or a family gathering, these pops will impress guests of all ages.
- Vegan and Gluten-Free: Everyone can enjoy these delicious pops without dietary concerns.
Tools and Preparation
To make Berry-Coconut Rocket Pops, you’ll need some essential kitchen tools. Having the right equipment makes the process smoother and more efficient.
Grab This Chef Knife Now - Almost Gone!
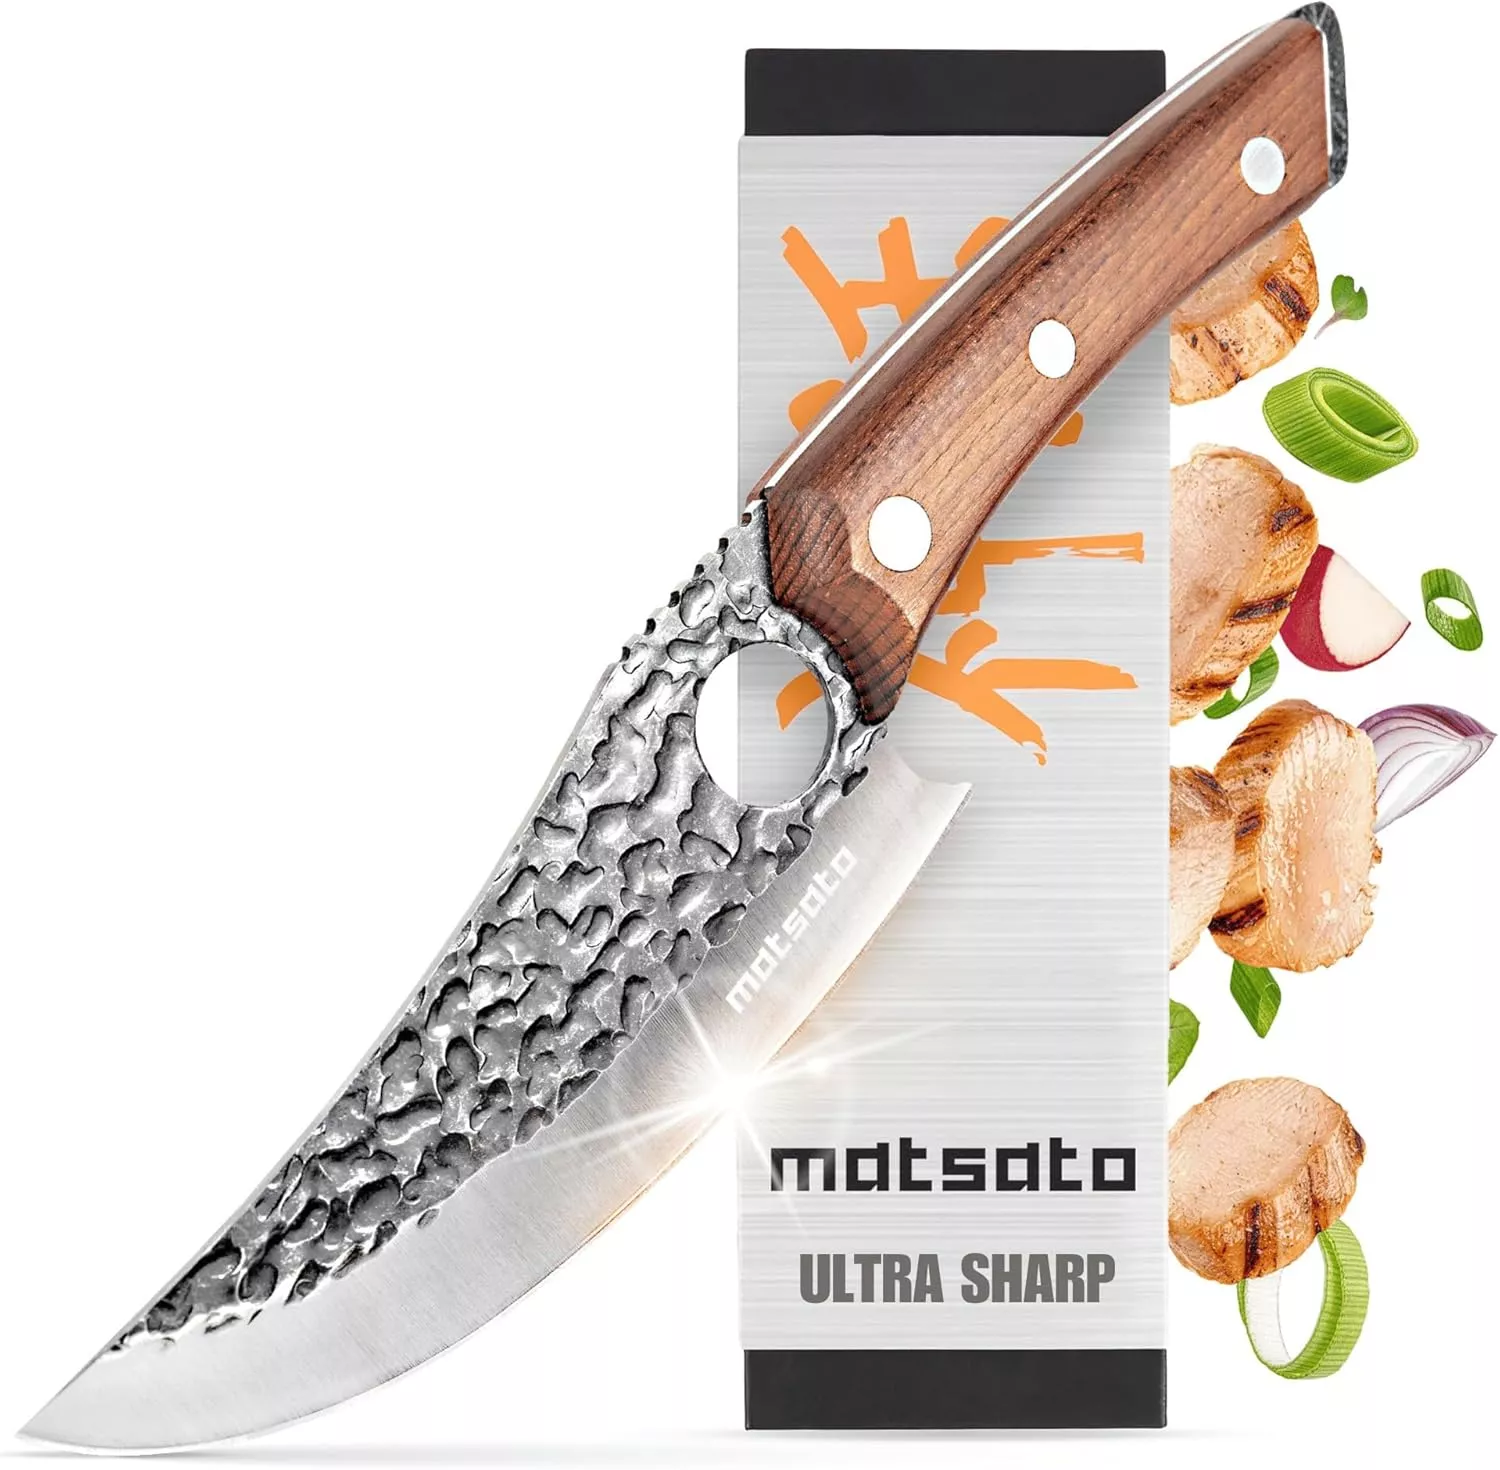
- Stays Razor-Sharp: Ice-hardened blade keeps its edge longer than ordinary knives
- Superior Grip Control: Unique finger hole design gives you perfect balance and safety
- Built to Last a Lifetime: Premium stainless steel blade with elegant beech wood handle
Customer Reviews ★★★★★
Essential Tools and Equipment
Importance of Each Tool
- Food processor or blender: This tool is key for pureeing fruits smoothly, giving your popsicles a perfect texture.
- Popsicle molds: These allow you to create fun shapes and sizes while ensuring the pops freeze properly.
- Whisk: A whisk is useful for combining ingredients evenly, especially when mixing the coconut milk.
Ingredients
A super easy, healthy take on the classic red, white, and blue rocket popsicles. These refreshing homemade summer treats are made with fresh strawberries and blueberries, and creamy coconut milk. They’re vegan and gluten-free.
For the Strawberry Layer
- 1 pound strawberries, trimmed and roughly chopped (you can use fresh or frozen)
- 1/4 cup unsweetened coconut water
- Pure maple syrup (optional)
For the Coconut Layer
- 8 ounces canned unsweetened full-fat coconut milk
- Pure maple syrup (optional)
For the Blueberry Layer
- 2 cups blueberries, fresh or frozen
How to Make Berry-Coconut Rocket Pops
Step 1: Prepare Strawberry Puree
- Using a food processor or blender, puree the strawberries.
- Add 1 to 2 tablespoons of coconut water to thin the mixture as needed for easy pouring into molds.
- Sweeten with 1 to 2 teaspoons of maple syrup, if desired. Set aside.
Step 2: Prepare Blueberry Puree
- Repeat the same process as in Step 1 with the blueberries.
Step 3: Mix Coconut Milk
- In a bowl, add 1 tablespoon (or more to taste) of maple syrup to the coconut milk, then whisk until smooth.
Step 4: Assemble Strawberry Layer
- Pour or spoon the strawberry mixture into popsicle molds until each mold is about 1/3 full (about 2 tablespoons).
- Place molds in the freezer for about 10 minutes until slightly firm.
Step 5: Add Coconut Layer
- After chilling the strawberry layer briefly, pour or spoon in the coconut milk mixture on top of it.
- Follow this by adding the blueberry puree on top.
Step 6: Insert Sticks
- Once the blueberry mixture has set for about 10 minutes in the freezer, insert popsicle sticks into each mold.
Step 7: Freeze Overnight
- Allow popsicles to freeze overnight or at least for 8 hours for best results.
Step 8: Serve
- To remove pops from molds easily, dip them in warm water for about 10-20 seconds before serving.
Enjoy your homemade Berry-Coconut Rocket Pops!
How to Serve Berry-Coconut Rocket Pops
Serving Berry-Coconut Rocket Pops is a delightful experience that enhances their vibrant colors and refreshing flavors. Here are some creative ideas to enjoy these popsicles.
At a Summer Picnic
- Pack them in a cooler: Keep the popsicles chilled in a cooler with ice packs for an easy and refreshing treat during your outdoor gathering.
- Serve with fresh fruit: Pair the pops with additional fresh strawberries and blueberries for a colorful, fruity display.
As a Kids’ Snack
- Fun presentation: Serve the pops on colorful plates or skewers to make them visually appealing for children.
- Dip in chocolate: For an extra treat, dip the ends of the popsicles in melted dark chocolate and sprinkle with crushed nuts or coconut flakes.
As a Dessert for Parties
- Create a dessert table: Arrange the pops alongside other desserts to create an eye-catching dessert table at your next celebration.
- Garnish with mint leaves: Add fresh mint leaves on top of each popsicle for an elegant touch that enhances the flavor.
Enjoying at Home
- With coconut whipped cream: Serve the pops alongside a dollop of coconut whipped cream for an indulgent yet healthy dessert.
- Blend into smoothies: Use leftover popsicles as a delicious addition to your morning smoothie for extra flavor and nutrition.

How to Perfect Berry-Coconut Rocket Pops
Creating perfect Berry-Coconut Rocket Pops requires attention to detail. Follow these tips for the best results.
- Use ripe fruit: Choose ripe strawberries and blueberries for optimal sweetness and flavor in your popsicles.
- Layer carefully: Pour each layer slowly into molds to avoid mixing. This keeps the colors distinct and vibrant.
- Adjust sweetness: Taste each layer before pouring; add maple syrup only if needed, ensuring a balanced sweetness throughout.
- Freeze gradually: Allow each layer to freeze just long enough before adding the next. This prevents blending while keeping layers firm.
- Store properly: Wrap finished pops in plastic wrap or parchment paper to keep them fresh and prevent ice crystals from forming.
Best Side Dishes for Berry-Coconut Rocket Pops
Pairing side dishes with Berry-Coconut Rocket Pops can elevate your snack experience. Here are some great options.
- Fresh Fruit Salad: A mix of seasonal fruits like melons, berries, and citrus that adds freshness to your meal.
- Coconut Rice: Fluffy rice cooked in coconut milk offers a creamy complement to the fruity pops.
- Granola Parfait: Layer yogurt, granola, and berries for a satisfying crunch that contrasts with the smoothness of the pops.
- Veggie Platter with Hummus: A selection of crisp veggies served with hummus provides a healthy balance to sweet treats.
- Cheese Board: Include various cheeses, nuts, and dried fruits for a savory option that pairs well with sweet flavors.
- Chocolate-Dipped Pretzels: Salty pretzels dipped in chocolate offer a crunchy treat that complements the berry flavors beautifully.
Common Mistakes to Avoid
Making Berry-Coconut Rocket Pops can be simple, but a few common pitfalls can affect the final result. Here are some mistakes to watch out for:
- Bold phrase: Not using enough sweetener. Some fruits may vary in sweetness, so taste and adjust with maple syrup as needed.
- Bold phrase: Over-blending the fruit. Puree each fruit separately until smooth but avoid turning them into juice. This will help maintain texture.
- Bold phrase: Skipping the freezing time. Allow each layer to freeze for at least 10 minutes before adding the next. This prevents blending of colors.
- Bold phrase: Using low-fat coconut milk. For creaminess, opt for full-fat coconut milk, which gives a richer taste and better texture.
Storage & Reheating Instructions
Refrigerator Storage
- Store in an airtight container for up to 3 days if you have any leftover popsicles.
- Keep them away from strong-smelling foods to avoid flavor transfer.
Freezing Berry-Coconut Rocket Pops
- Freeze for up to 3 months in airtight freezer bags or containers.
- Label containers with the date to keep track of how long they’ve been stored.
Reheating Berry-Coconut Rocket Pops
- Bold phrase: Oven – Not applicable for popsicles; serve them straight from the freezer.
- Bold phrase: Microwave – Avoid microwaving as it will melt them; enjoy frozen instead.
- Bold phrase: Stovetop – Not applicable; these are best served cold.
Frequently Asked Questions
Here are some common questions about making Berry-Coconut Rocket Pops:
Can I use other fruits for Berry-Coconut Rocket Pops?
Absolutely! You can substitute other berries or even mangoes and peaches depending on your preference.
How do I make Berry-Coconut Rocket Pops without added sugar?
You can use ripe bananas or dates for natural sweetness instead of maple syrup.
What is the best way to remove pops from molds?
A warm water bath for about 10-20 seconds helps loosen the popsicle from the mold easily.
How long do Berry-Coconut Rocket Pops last in the freezer?
They can last up to 3 months if stored properly in airtight containers.
Final Thoughts
Berry-Coconut Rocket Pops are a delightful summer treat that is not only healthy but also incredibly versatile. Feel free to customize them with your favorite fruits or even add a splash of lime juice for a zingy twist. Give this refreshing recipe a try, and enjoy a delicious way to cool off!
Did You Enjoy Making This Recipe? Please rate this recipe with ⭐⭐⭐⭐⭐ or leave a comment.
📖 Recipe Card
Print
Berry-Coconut Rocket Pops
- Total Time: 0 hours
- Yield: Makes approximately 6 popsicles 1x
Description
Indulge in the refreshing delight of Berry-Coconut Rocket Pops, a vibrant and healthy treat perfect for those hot summer days. These delightful popsicles combine the natural sweetness of fresh strawberries and blueberries with the creamy richness of coconut milk. They are not only easy to make but are also vegan and gluten-free, making them a guilt-free dessert option for everyone. Ideal for parties, picnics, or just a cool-down snack at home, these colorful rocket pops will surely impress guests of all ages.
Ingredients
- 1 pound strawberries
- 2 cups blueberries
- 8 ounces canned unsweetened coconut milk
- 1/4 cup unsweetened coconut water
- Pure maple syrup (optional)
Instructions
- Puree the strawberries in a blender or food processor until smooth, adding coconut water as needed.
- Repeat with the blueberries.
- In a bowl, whisk together coconut milk and maple syrup until smooth.
- Layer the strawberry puree into popsicle molds, filling each about 1/3 full; freeze for 10 minutes.
- Pour in the coconut mixture, followed by the blueberry puree on top.
- Insert sticks after freezing for another 10 minutes, then freeze overnight.
- Prep Time: 20 minutes
- Cook Time: None
- Category: Dessert
- Method: Freezing
- Cuisine: Vegan
Nutrition
- Serving Size: 1 serving
- Calories: 80
- Sugar: 11g
- Sodium: 5mg
- Fat: 5g
- Saturated Fat: 4g
- Unsaturated Fat: 1g
- Trans Fat: 0g
- Carbohydrates: 9g
- Fiber: 1g
- Protein: 1g
- Cholesterol: 0mg